Installation
Installing a SeaVac aboard
Where the unit goes matters more on a boat than anywhere else. Plan the location around one rule first, then the power, then the pipe.
Read this before you buy
SeaVac is a dry vacuum.
It is built for the dry dirt a cabin collects — sand, crumbs, dust, hair, lint — and nothing wet.
- Cabin use only. Use it inside the dry, enclosed part of the boat.
- Mount the power unit in a dry compartment, away from spray, bilge water and any hatch or locker that takes water.
- Never vacuum water — no bilge water, standing water, spills, wet sand, damp carpet or anything wet.
- For wet pickup, use a machine built for wet pickup. A SeaVac is not one.
1 · Location
A dry compartment
The power unit goes inside the dry, enclosed part of the boat — a cabinet, a locker or under a berth — away from spray, bilge water and any hatch that takes water.
2 · Power
AC power
The Mini and Mini Pro draw 12A at 60Hz; the Ultra runs on 120V at 10A. Aboard, that means shore power, a generator, or an inverter that can carry the load. The Mini plugs into an outlet with its 6 ft cord.
3 · Pipe
Piped models only
The Mini Pro, Ultra and Ultra Max run pipe from the power unit to inlet valves and VacPorts. The Mini needs none: one cutout, 11 x 6 x 6 in.
Installed aboard
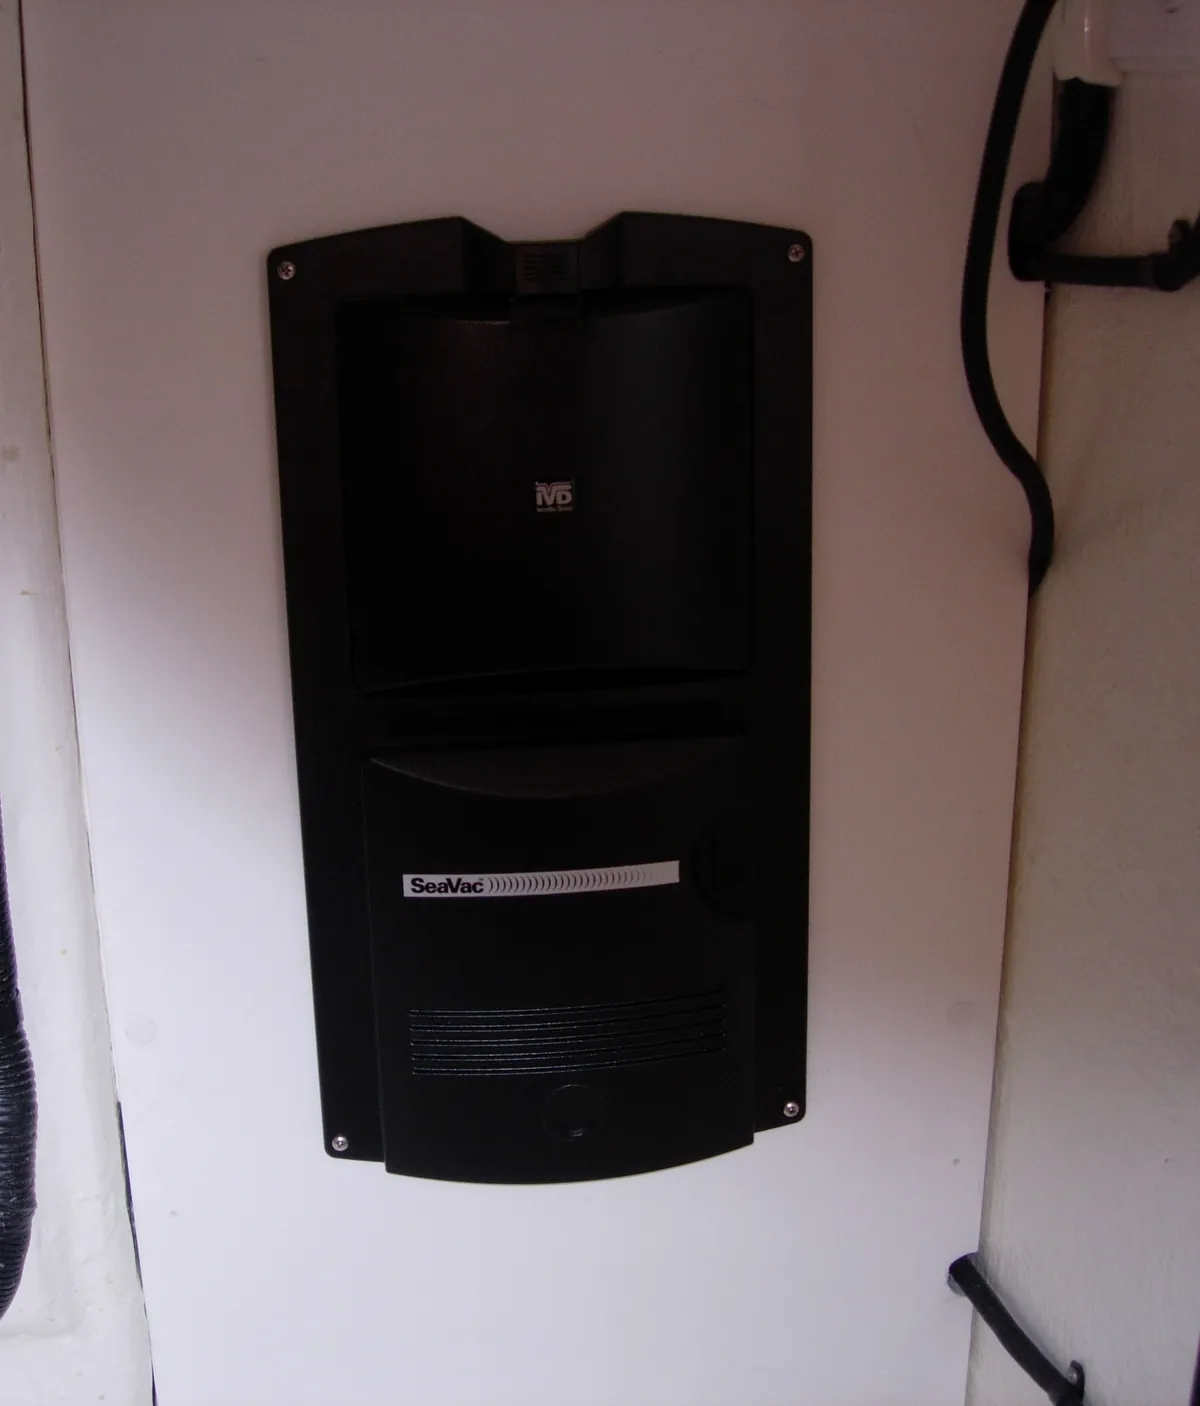
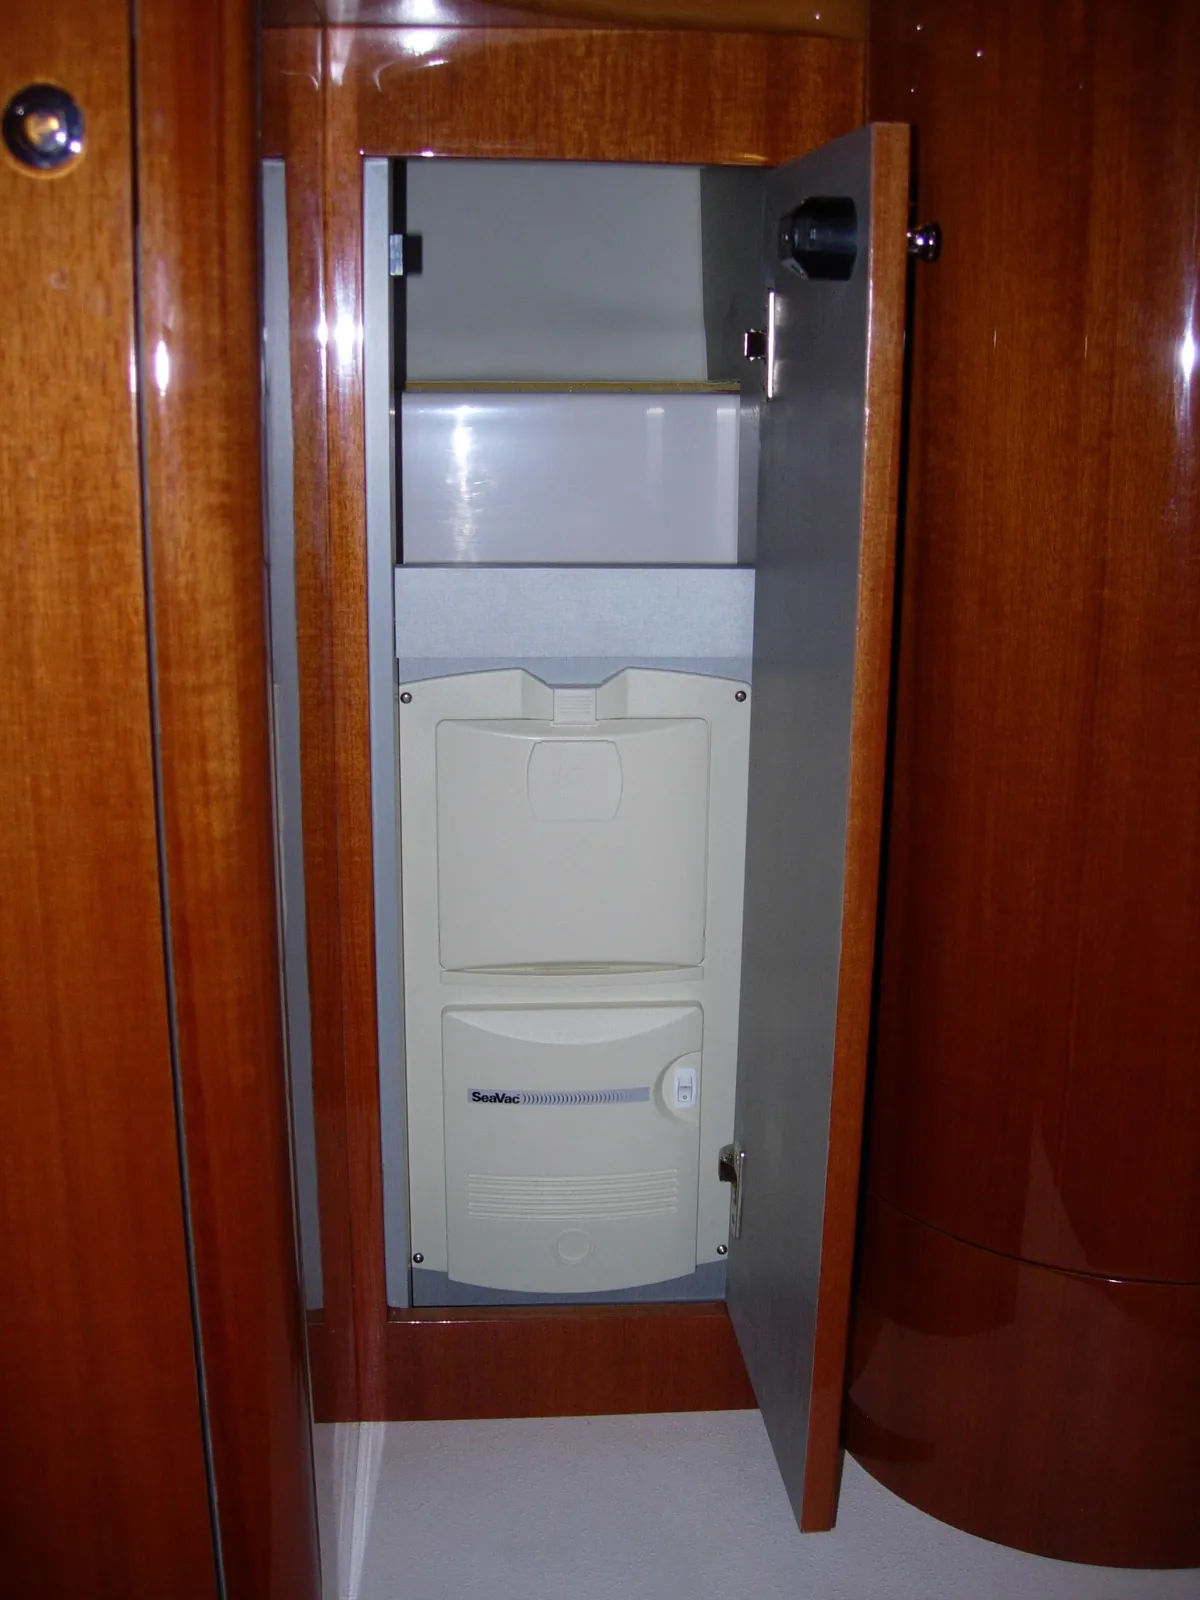
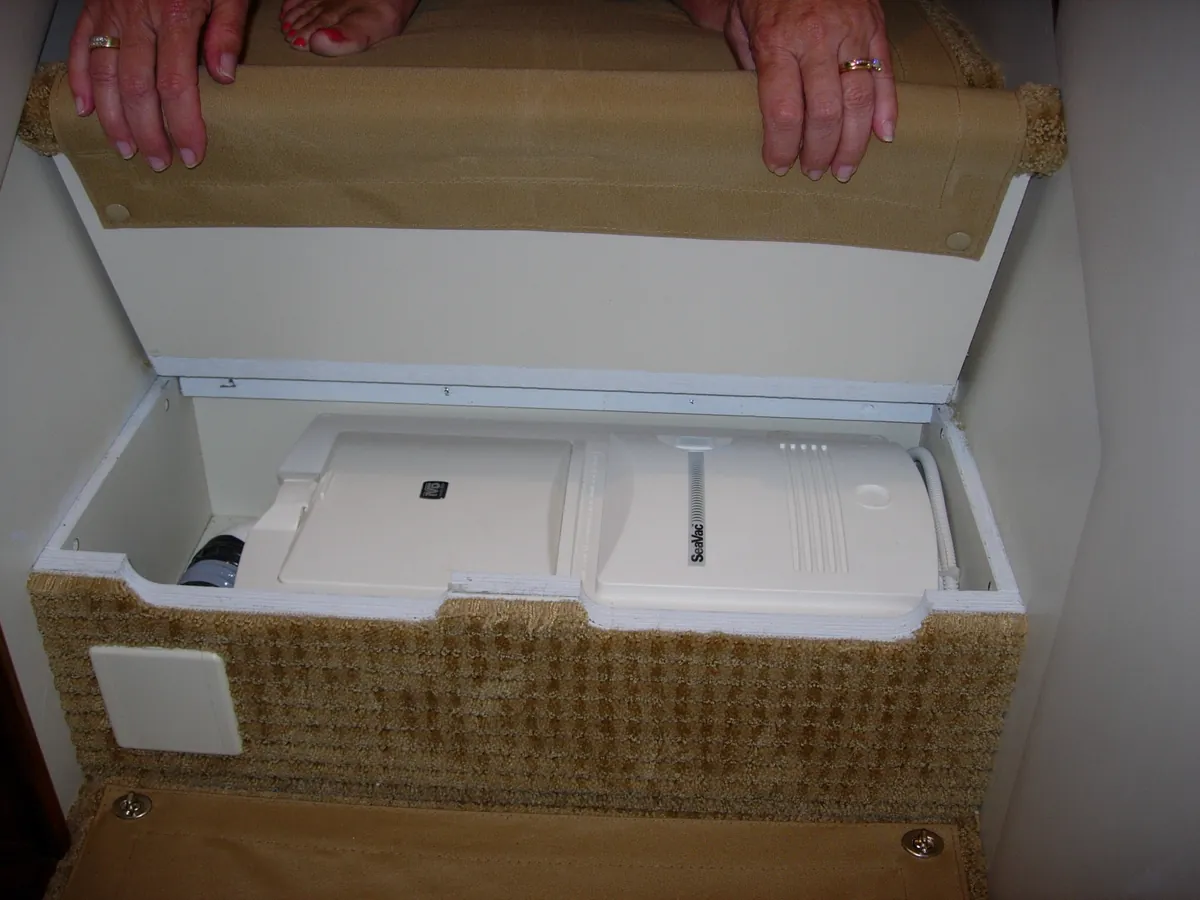
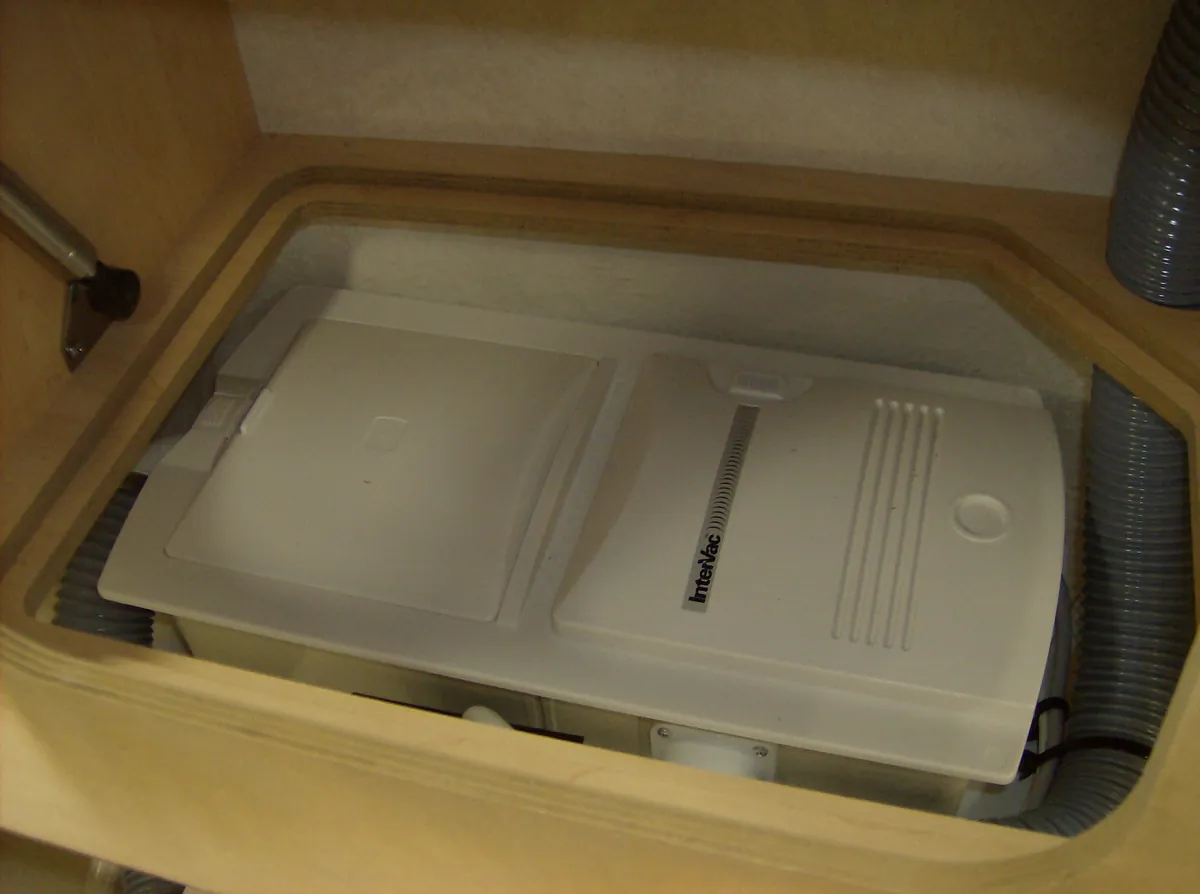
Where owners have put them
Each of these is in a dry, enclosed space: a locker, under a step, a cabinet or a molded recess. That is the rule, and most boats already have a spot that fits it.
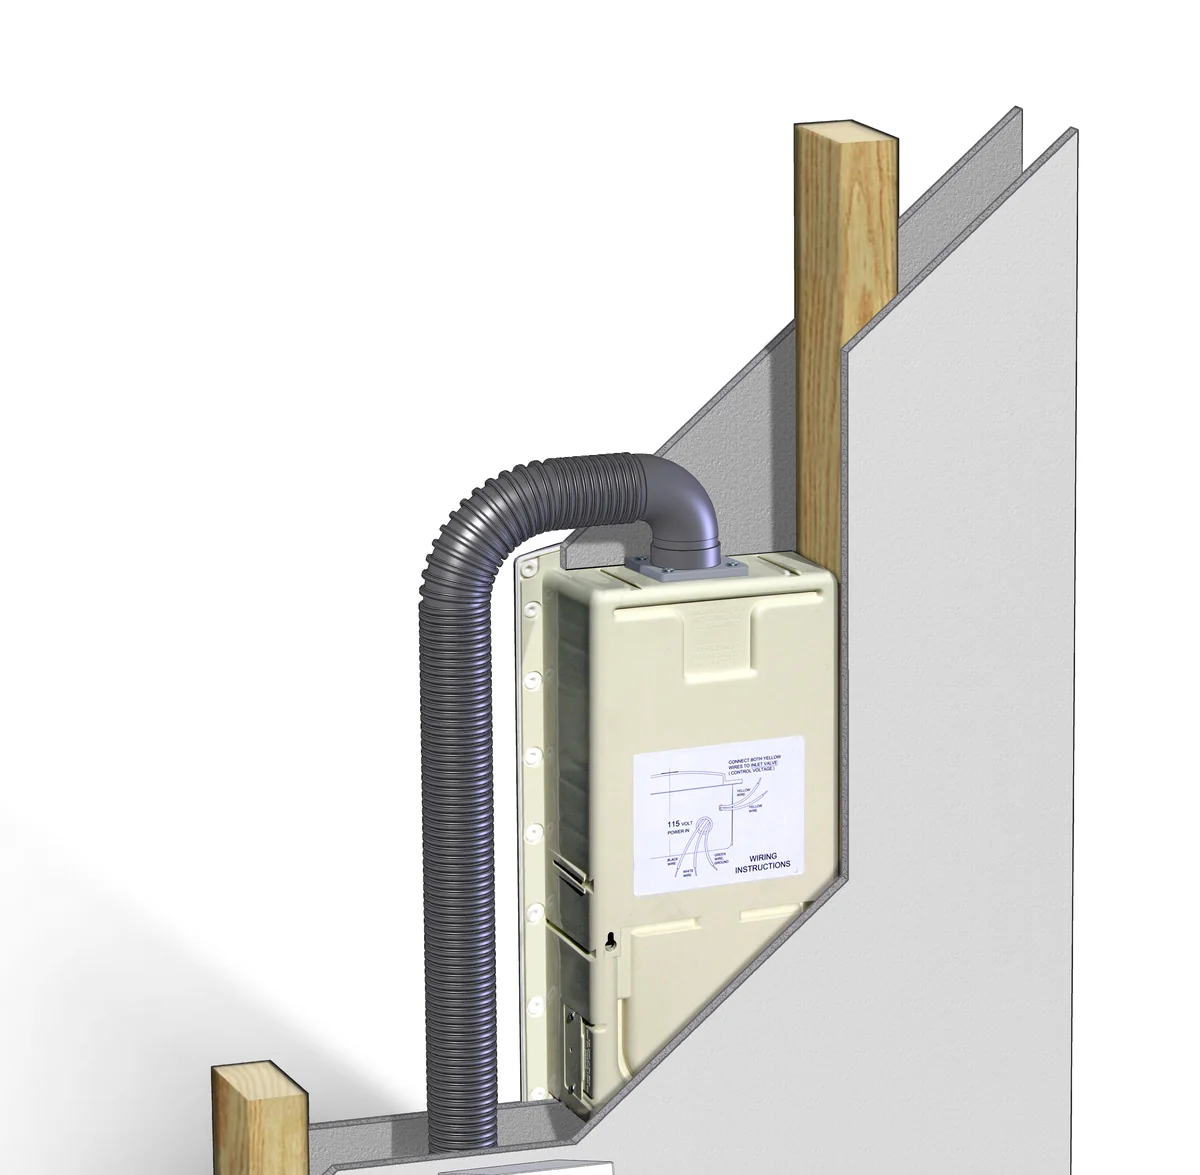
Piped models
How a remote-mounted install goes together
The power unit fixes between framing members inside a dry locker. Flexible pipe runs from its intake to the inlet valve or VacPort in the cabin, and the hose plugs in there. This is the layout for the Mini Pro, Ultra and Ultra Max. The Mini needs none of it.
Mini and Mini Pro
Exhaust, brackets and service parts
The Mini and Mini Pro have no exhaust filter by design. The overboard exhaust option vents the exhaust out of the cabin instead. Mounting brackets are sold separately — no InterVac vacuum ships with one.
- C-060-EC-060-E Overboard Exhaust FunnelVents the vacuum exhaust out of the cabin instead of back into it. Mini and Mini Pro.$12.59Add
- AS-61AS-61 CS Exhaust KitThe complete exhaust kit for the Mini and Mini Pro.$18.86Add
- F-70F-70 Steel BracketSteel mounting bracket. Fits the Mini and the Mini Pro. Brackets are sold separately.$36.41Add
- CA-021CA-021 Front PanelFront panel for the Mini and Mini Pro.$21.25Add
- AS-08AS-08 Motor AssemblyReplacement motor assembly for the Mini and Mini Pro.$75.00Add
Videos
Watch an install
 Installing the CS-RM and a VacPortA full remote-mount install with a VacPort, the same unit as the SeaVac Mini Pro.
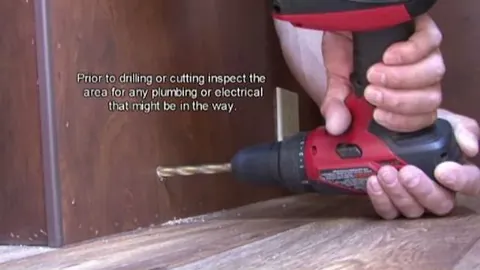 VacPort installationCutting in and wiring a VacPort sweep inlet.
 VacPort retrofit into an existing installAdding a VacPort to a system that is already piped.
These videos show installs in RVs and homes; the power units, VacPorts and fittings are the same ones used in the SeaVac range. Manuals: M-10 (Mini, Mini Pro), M-11 (Ultra, Ultra Max), M-20 (VacPort). Owner’s manuals.